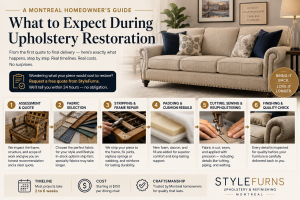

Furniture repair is a structured, professional process — not a quick fix or guesswork. Whether you’re dealing with a sagging sofa, torn upholstery, broken recliner mechanism, or worn leather, understanding how furniture repair works step-by-step helps you make better decisions and avoid unnecessary replacement costs.
Below is a complete breakdown of the professional furniture repair process, from inspection to final quality checks.
Step 1: Initial Furniture Inspection & Damage Assessment
The repair process always begins with a thorough inspection.
A professional technician evaluates:
- Type of furniture (sofa, recliner, sectional, chair, antique piece)
- Materials involved (fabric, leather, vinyl, wood, metal)
- Structural condition (frame, joints, springs)
- Mechanical or electrical components (for recliners or power furniture)
- Extent of visible and hidden damage
Why this step matters
Many furniture issues (like sagging cushions or surface tears) are symptoms, not root causes. Proper assessment prevents incomplete repairs and repeat problems.
At this stage, repairability is also determined — not all damage should be repaired, and honest providers will say so.
Step 2: Identifying the Right Repair Method
Once the inspection is complete, the technician determines how the furniture should be repaired, not just if it can be repaired.
This includes choosing:
- Repair vs partial restoration vs replacement of components
- On-site repair or workshop repair
- Material-specific techniques (leather repair ≠ fabric repair)
- Mechanical repair vs full mechanism replacement
Common repair categories
- Upholstery repair (tears, seams, padding, webbing)
- Structural repairs (frames, joints, springs)
- Mechanical repairs (recliner mechanisms, levers)
- Electrical repairs (motors, wiring, switches)
- Surface restoration (leather conditioning, vinyl repair)
Each category follows different repair protocols, which is why professional repair is more reliable than DIY solutions.
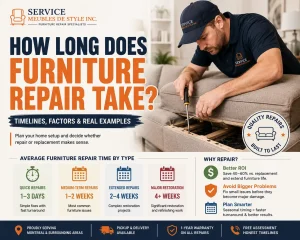
Step 3: Cost Estimation & Repair Timeline
Before any work begins, a clear estimate is provided.
This typically includes:
- Scope of repair work
- Materials required
- Labor involved
- Estimated repair duration
- Any limitations or exclusions
Repair vs replacement comparison
At this stage, professionals often help clients compare:
- Cost of repair vs buying new furniture
- Durability after repair
- Warranty or service guarantee
This step is critical for transparency and decision-making.
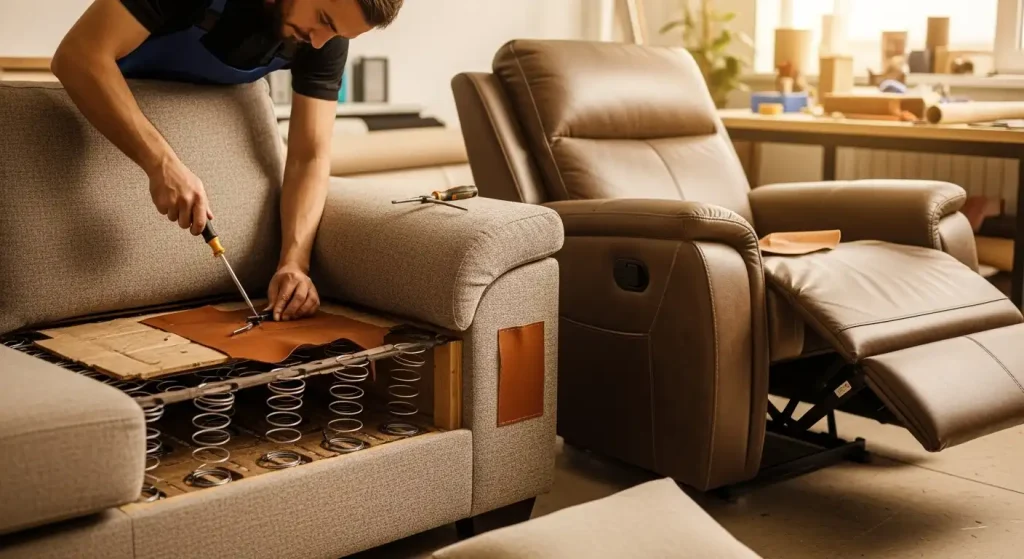
Step 4: Furniture Disassembly (If Required)
Many repairs require partial or full disassembly.
Examples:
- Removing upholstery layers to access padding or springs
- Detaching recliner mechanisms
- Removing damaged panels or sections
- Isolating electrical components safely
Disassembly allows technicians to:
- Repair hidden structural issues
- Replace internal components
- Ensure repairs last long-term
Improper disassembly is one of the biggest causes of failed DIY repairs.
Step 5: Repairing or Replacing Damaged Components
This is the core repair phase, where actual restoration work happens.
Depending on the issue, this may include:
- Replacing broken springs or webbing
- Reinforcing or repairing wooden frames
- Re-padding cushions
- Stitching or patching upholstery
- Repairing leather scratches or cracks
- Fixing recliner mechanisms or motors
Each material and furniture type requires specific tools, adhesives, techniques, and tolerances.
Step 6: Upholstery & Surface Restoration
After structural or mechanical repairs are complete, surface restoration is performed.
This may involve:
- Re-stretching fabric or leather
- Color matching leather or vinyl
- Conditioning and protecting surfaces
- Seam reinforcement
- Foam reshaping
This step ensures the furniture looks natural and uniform, not “patched.”
Step 7: Reassembly & Functional Testing
Once repairs are complete, the furniture is carefully reassembled.
Technicians test:
- Structural stability
- Reclining or moving parts
- Electrical components
- Comfort and alignment
- Safety and balance
Any resistance, noise, or misalignment is corrected before final delivery.
Step 8: Final Quality Check & Cleanup
Before completion, a final inspection is performed.
This includes:
- Visual quality assessment
- Comfort and usability testing
- Cleaning repaired areas
- Ensuring no new damage occurred during repair
Only after passing quality checks is the furniture returned to use.
Step 9: Post-Repair Care Guidance
Professional furniture repair doesn’t end at delivery.
Clients are often advised on:
- Cleaning and maintenance routines
- Weight limits or usage precautions
- Environmental considerations (humidity, sunlight)
- When to schedule future maintenance
Proper aftercare significantly extends the lifespan of repaired furniture.
Is Professional Furniture Repair Worth It?
In most cases, yes — especially when:
- Furniture has a solid frame
- Damage is localized
- Replacement cost is significantly higher
- Sentimental or custom pieces are involved
Professional repair is usually more cost-effective, environmentally friendly, and faster than full replacement.
When Should You Avoid Furniture Repair?
Furniture repair may not be ideal if:
- The frame is extensively damaged beyond repair
- Repair costs exceed replacement value
- Materials are severely degraded
- Safety cannot be guaranteed
An honest service provider will clearly explain these limitations.
Final Thoughts: How Furniture Repair Really Works
Furniture repair is a methodical, skilled process — not a shortcut or cosmetic fix. When done correctly, it restores functionality, comfort, and appearance while saving money and reducing waste.
If your furniture shows signs of wear, damage, or mechanical failure, professional repair is often the smartest first option.
Need Professional Furniture Repair?
If you’re looking for expert help, explore our
Furniture Repair Services, Upholstery Repair, or Recliner Repair Services to see how professional repair can extend the life of your furniture.